• Riffster banner 6
  • corporate
  • Riffster banner 1
  • Riffster banner 2
  • Riffster banner 3
  • Riffster banner 4
  • Riffster banner 5
  • Riffster banner 7

Blog

I run a Zoom F8 for my multimedia business in various ways. From on-location recording of musicians to receiving output from FOH boards for multi-cam video purposes. Many times I need to figure out a way, from a physical standpoint, to make this unit work for me with whatever situation I'm in. I need adaptability. I need a way to mount timecode boxes, crab clamps, v-mount batteries, microphones, receivers, cameras, tripods, etc. directly to the F8. Enter the mother of invention through necessity. 


So like most devices nowadays, some 3rd party will make a cage for it to make it more useful. I searched far and wide for a cage or frame for the F8 and F8n and turned up a whole lot of nothing. The closet thing that I found was the single 1/4 - 20 frame mount from Zoom which really is just a single point thing. So I decided to cobble together some cheese plates, M4, 1/4 - 20's and 3/8 - 16s to see what I could come up with. I wouldn't call it exactly a cage but it's close enough & it definitely achieves more robust connectivity.


DIY Zoom F8 Cage

For a minimalistic approach I could just use - 

(3) CAMVATE Long Cheese Plate with 1/4"-20 Threads (6.5") - 3453

The Zoom F8's original (4) top M4 screws will line up with this cheese plate holes so it's really a piece of cake. No drilling. I do have some concerns about the strength of the receiving collar on the F8 as it appears to be plastic. Putting too much weight on might be a problem down the road. Time will tell. I haven't tried the bottom 4 screw points on the underside of the F8. 


There are a million ways to skin a cat and until someone makes a full cage or frame for this thing, this will work. Overall I'm pretty satisfied that I made this little recorder even more useful to me.

Bessemer Saints, 'Another Night with Whiskey' BTS

Crone Capture

Destructor's, 'Heroic Age'

Lux Row Distillers


Well I thought I'd run a few thoughts on what is turning out to be my favorite distiller of the year - Lux Row Distillers. These folks seem to have this bourbon game down pretty darned well. Without getting into their entire backstory, I've found myself thoroughly enjoying their products and really look forward to grabbing up a few more of their bottles..

As a sucker for cool looking presentations, here Lux Row really does a fantastic job at label design and graphics. While Ultimately it is really about what's inside the bottle, we all know that having something look good is very important too. I've seen all too many times a bottle that while may be excellent, their labeling looks to be designed by a 1st grader and as a result, I just may skip over that one. These folks, do it right.


Born and bred in Kentucky, Ezra Brooks has been filling glasses with genuine American bourbon since 1957. In 2018, it found a new home in Bardstown, aka the Bourbon Capital of the World. Known as Lux Row Distillers, so named because of the distinct row of trees on the historic property, the distillery boasts more than 18,000 square feet, six barrel warehouses at capacity, and a 43-foot custom copper still for Ezra Brooks and its bourbons-in-crime Rebel Bourbon, David Nicholson, and Blood Oath. Come see Lux Row Distillers for yourself and discover why Ezra Brooks is as authentic as they come.


As it sets right now, I have tried these two bourbons and I have to say, I've been quite pleased. The 7 year stands out as a better, more refined tasting bourbon that really does push it home with the extra proof. Nice deliveries of oak, cherry and spice and closing out with a satisfying warm & long finish. Such a good bourbon that can be found on shelves in my area pretty easy.


The Ezra Brooks Distiller’s Select is a limited run that I thought I'd try out on a bit of whim and honestly I had no idea that I'd like it this much. For one, it's 35 bucks and over 100 proof. This is already good news. This is quite the flavorful drink and at this cost, it's certainly a deal. In comparison to the Old Ezra 7 year it is definitely related and shares many of the same characteristics but I would have to say that I find this slightly more sweet and with a finish that while still very good, is a bit shorter. This is much like Pikesville being the big brother to Rittenhouse type situation. Overall at this price and the very surprising taste, I'm easily more impressed with this than the 7 year. It's just a sad thing that this is a limited run because this is a perfect 'drink anytime' whiskey. Hopefully I score on a couple more bottles before they are completely gone.


Ezra Brooks Distiller’s Select

Mash Bill: 78% Corn, 10% Rye, 12% Malted Barley

107 Proof

Age: 5 years


Old Ezra 7 Year Barrell Strength 

Mash Bill: At least 51% Corn + Rye + Malted Barley

117 Proof

Age: 7 Years


Lux Row Distillers I feel really has a good thing going on and I'll definitely be trying out all their other products, if possible. Here's a handful of their other offerings that I hope to get my hands on soon. Cheers people!


Rebel Distiller's Collection

Daviess County Cabernet Sauvignon Finish

Lux Row Distillers 12 Year Double Barrel

Blood Oath


Blog it

The other day I got approached to do some boudoir type work. Typical for this type of work I use a rental space that has a fabulously grungy yet intimate appeal with many different textures and lighting scenes. After going through the models expectations, hair, makeup & outfits a week before the shoot, we had our game plan.
 
Something that I noted that might be something for everyone to remember is that when I was contacted by this client she mentioned some images that she especially like from my portfolio. Remember that. They liked your images, not someone elses. So when reviewing other 3rd party image ideas, remember to be true to your client and be confident in yourself in your own unique artistic view. 
 
There is a lot of info out there about client boudoir preparation so I'll just mention the things that I feel are especially important. 
 
- the models comfort level is the most important. If she is uncomfortable, it will directly translate to bad or awkward imagery. If she is unconfident, do your very best to bolster that lacking.
 
- find out right away what problem areas that the model thinks she might have. That way you can be more aware of how the shoot should flow and how certain posing would compliment her the best.
 
As with most shoots I want to try something a little new to expand my skillset. Since I shoot quite a bit of video I thought this was a great time to try some continuous lighting for one of the outfits. 
 

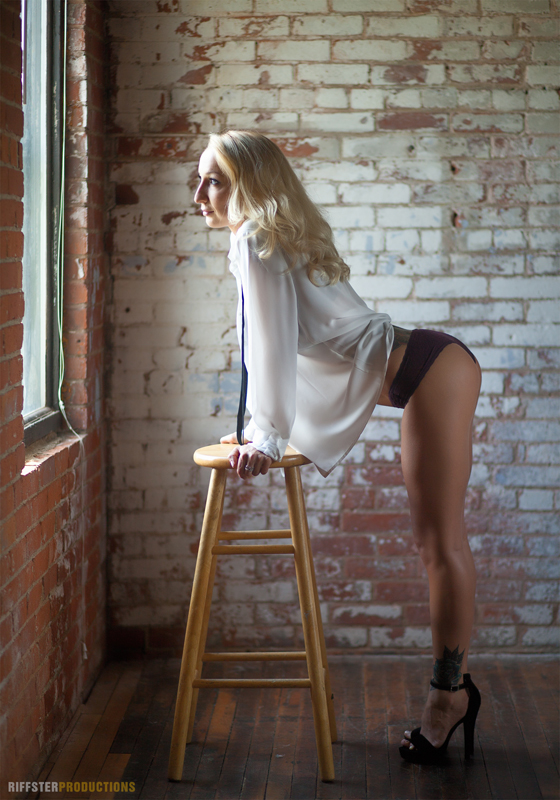
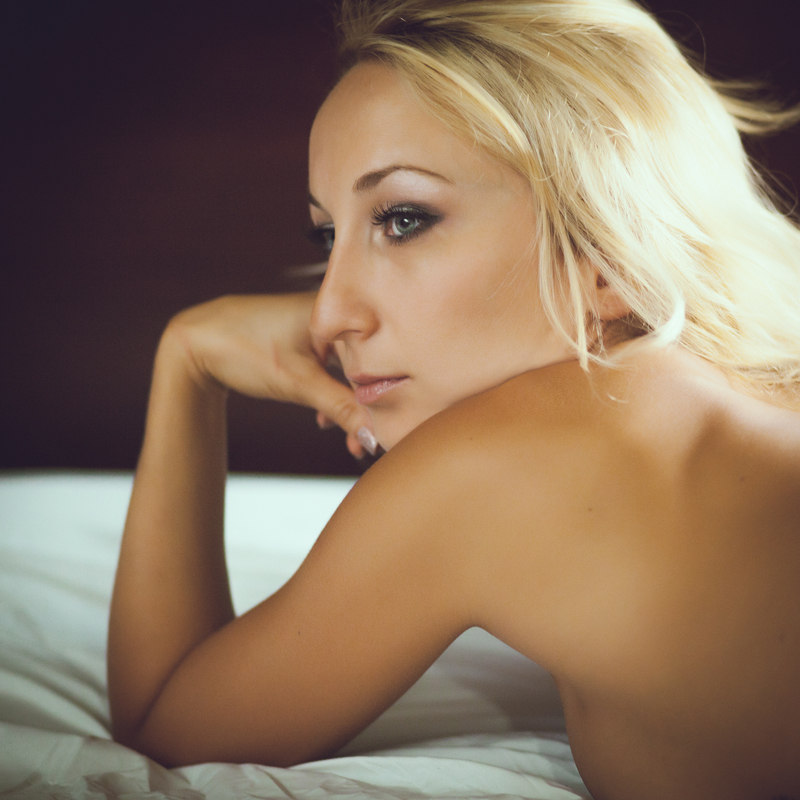
The Window - Natural Light

 
Our first area that we shot at was what I call 'the window'. Using the available window light only I knew I would be pushing my ISO  a bit here as well as close to wide open apertures on my 85mm prime lens hovering around f/2.0-2.2. I had the model back off from the brick wall a bit to give a little depth to the shot, facing the window along with my assistant picking up some bounce light pretty close with a 50" reflector, silver side. After a series of poses we had our shots. 
 
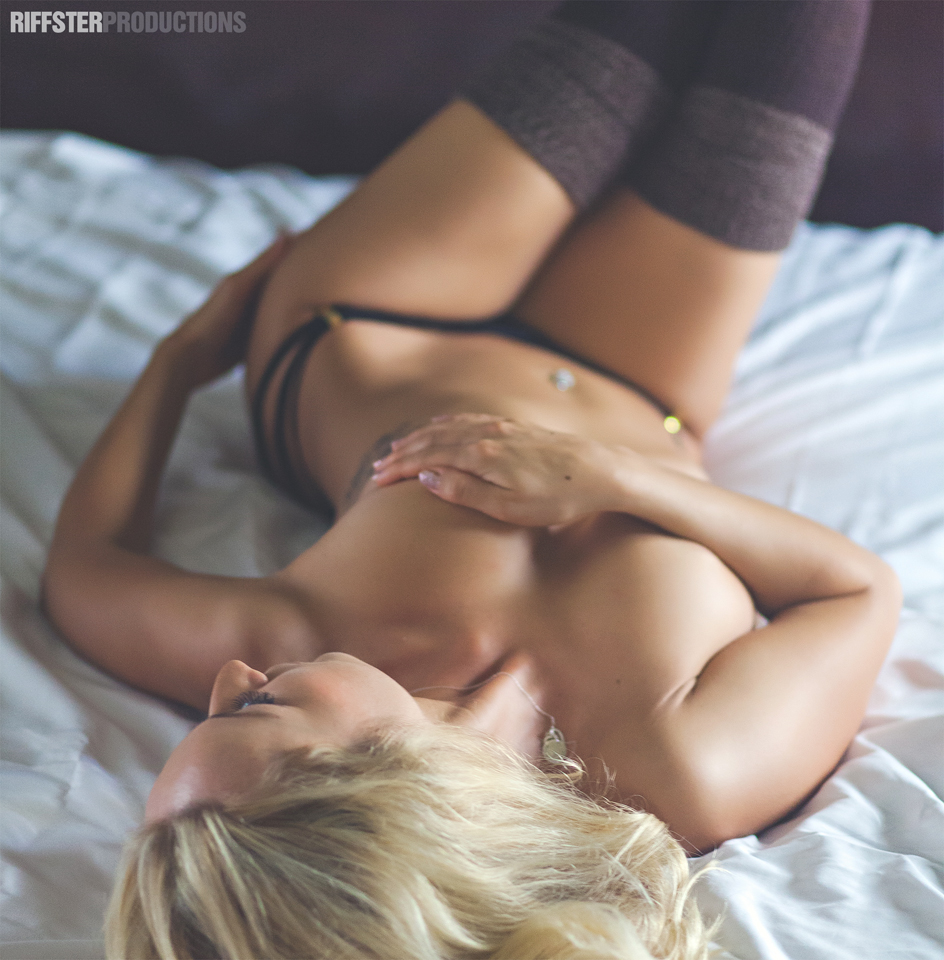
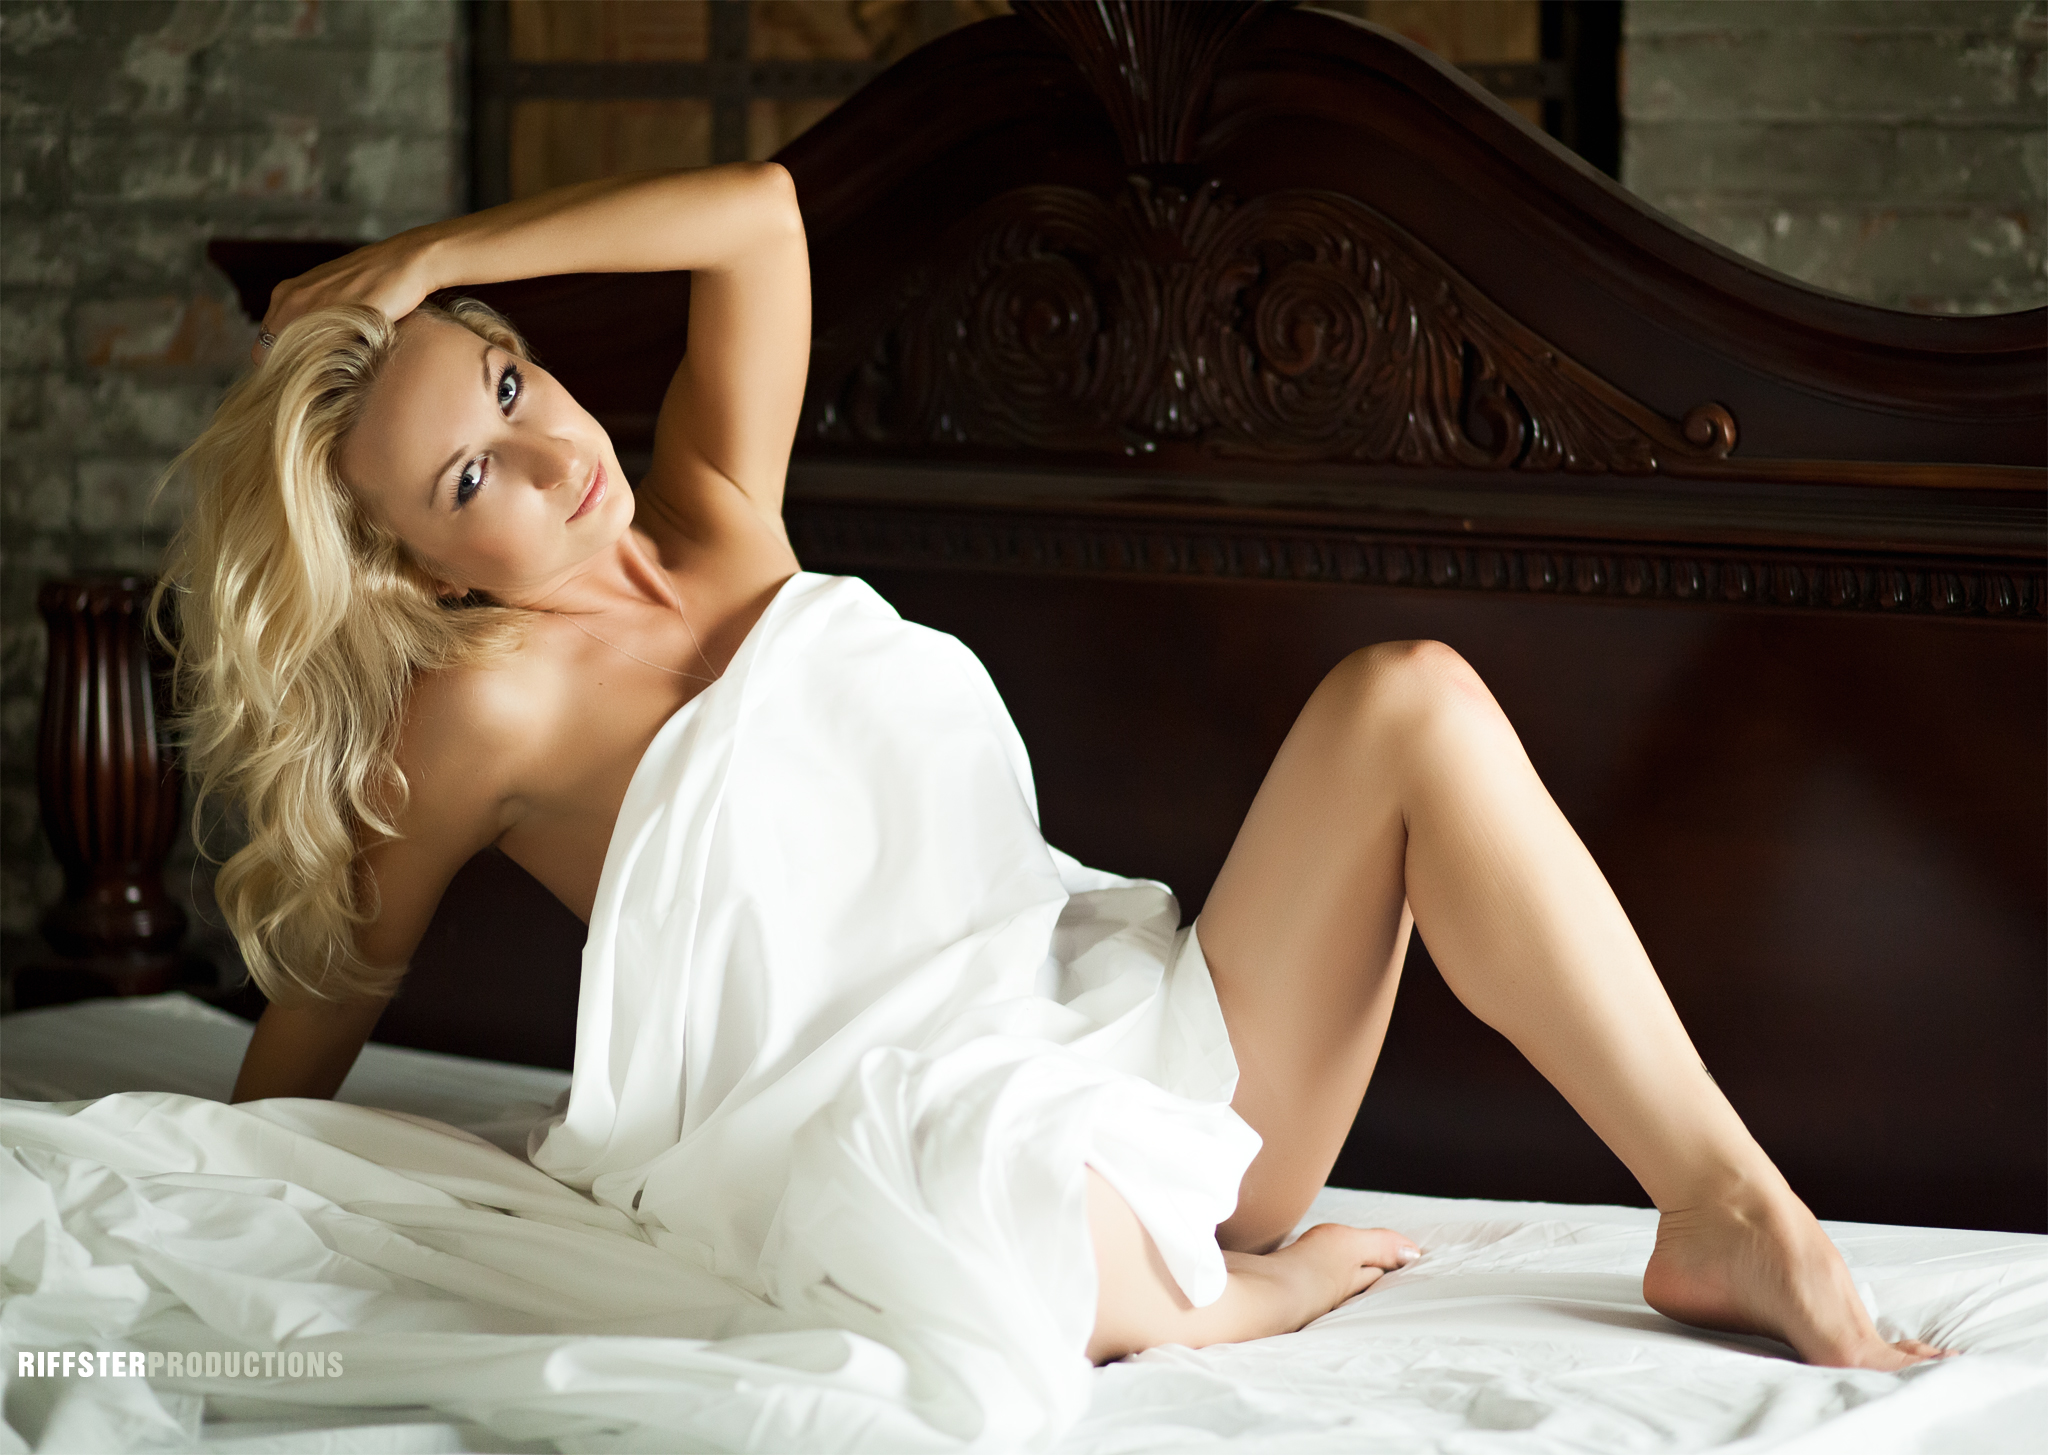
In this rental space there is also a remarkably grungy upper floor that has nothing but one lone small window and a king sized bed. After my assistant got the sheets and pillow cases on were ready to try this extremely low lit scene. I alternated between using an 85mm f/1.8 prime and the 24-70L f/2.8 for some of the closer shots. I really had to push everything to get the light where it needed to be. ISO settings from 800 to +1600 and shutter speeds anywhere from 100 to 50. We ran through a variety of poses and subtle outfit changes and came up with a few good shots.  
 

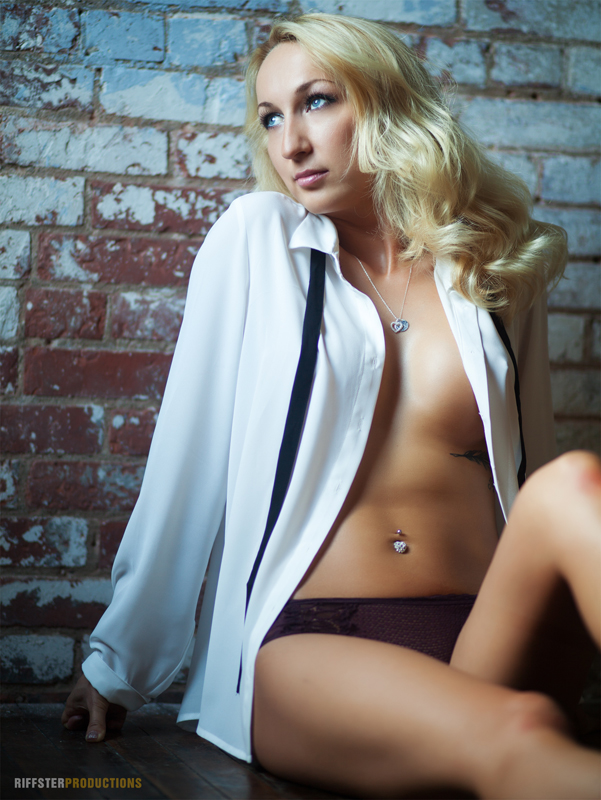
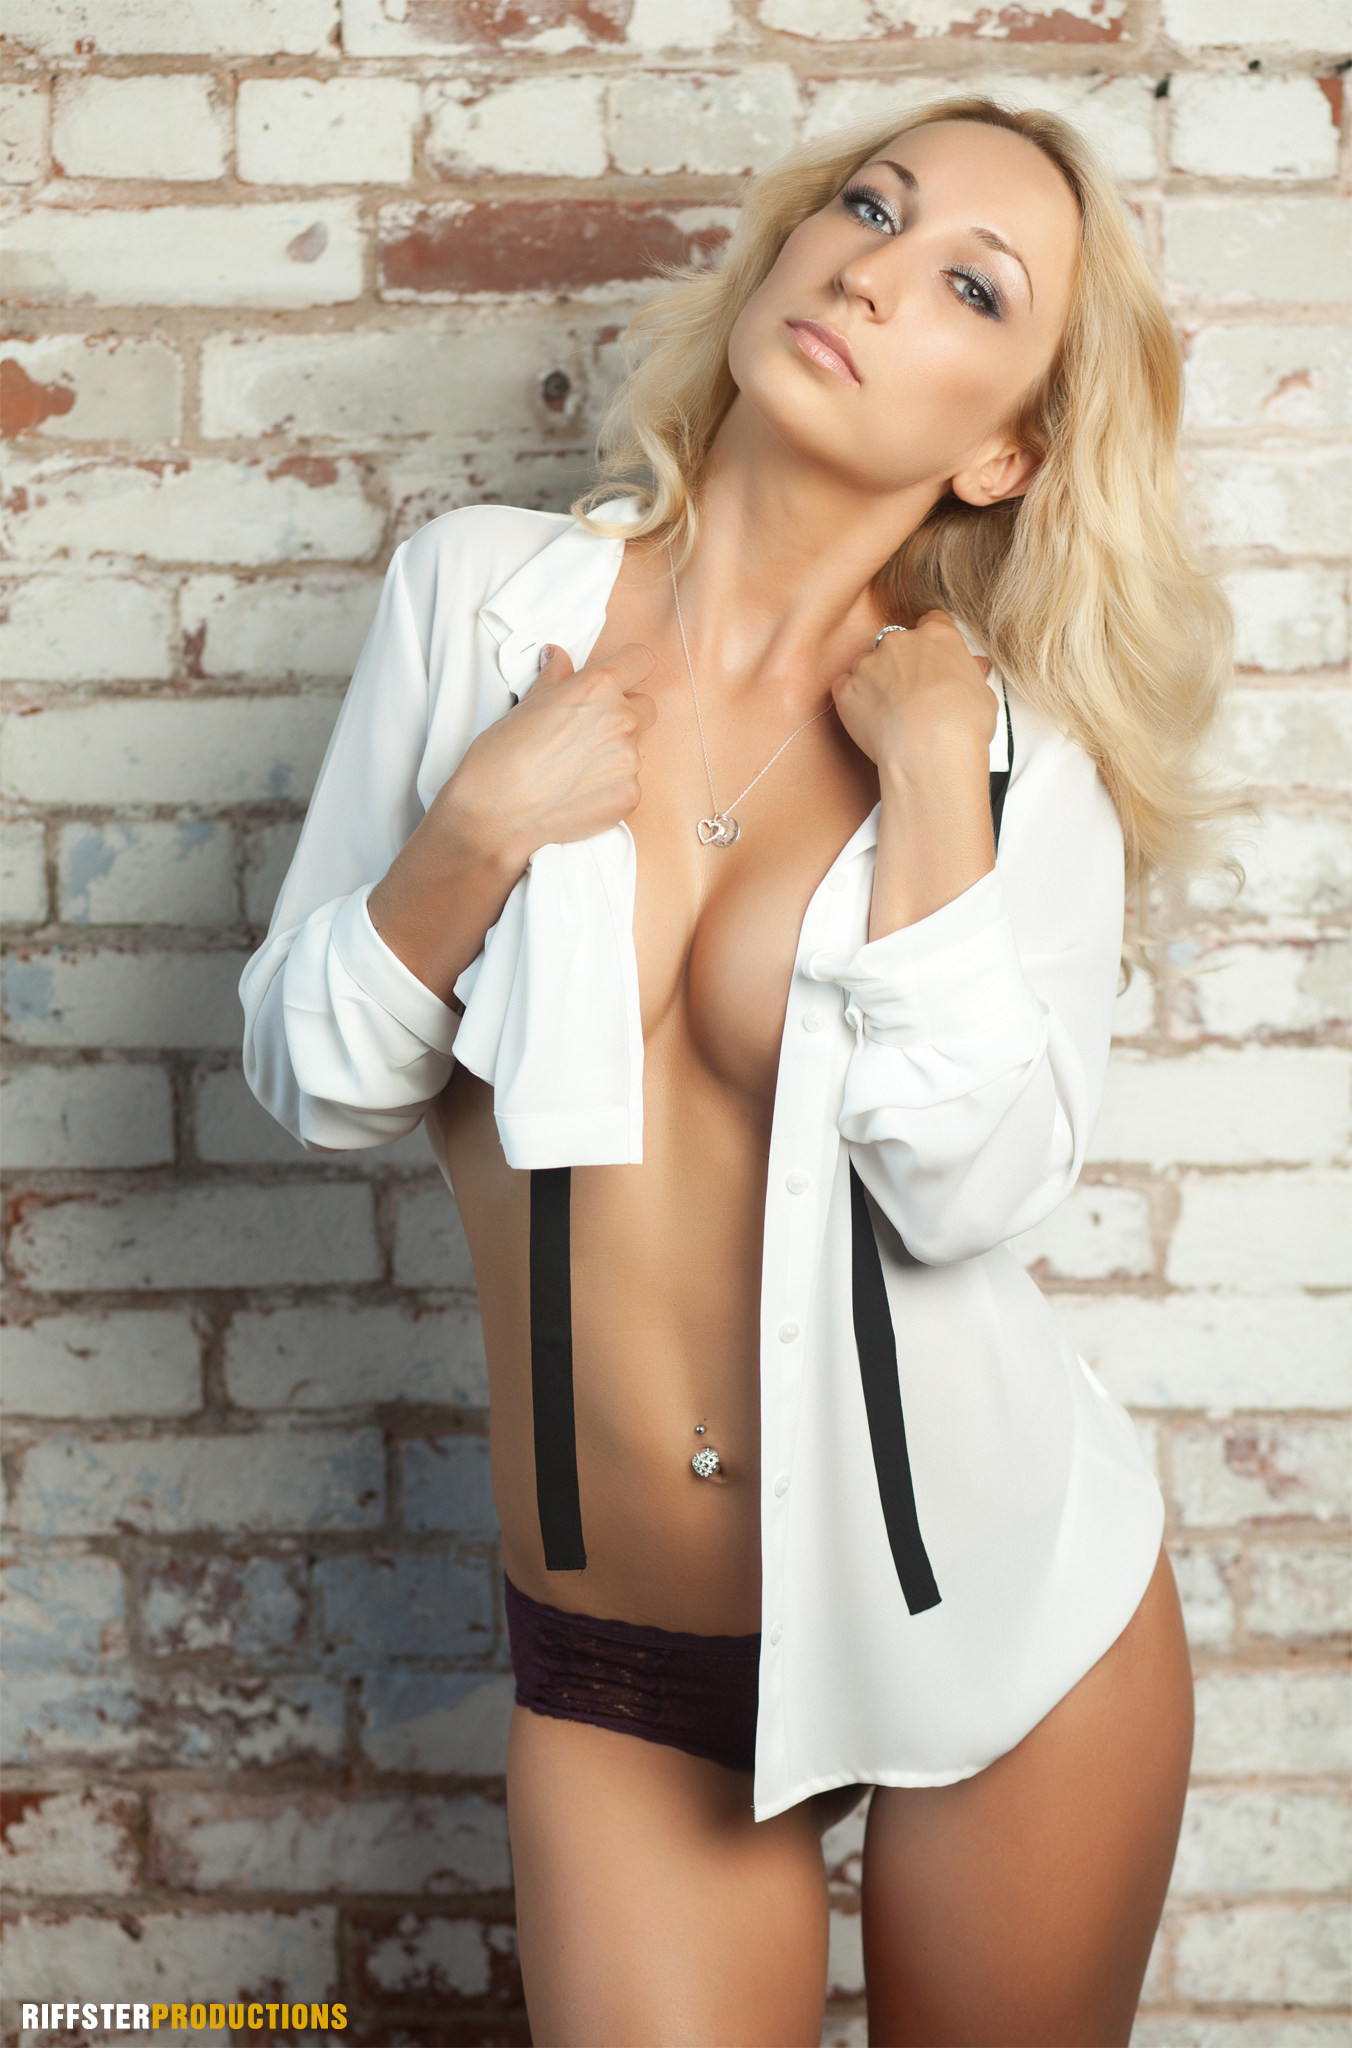
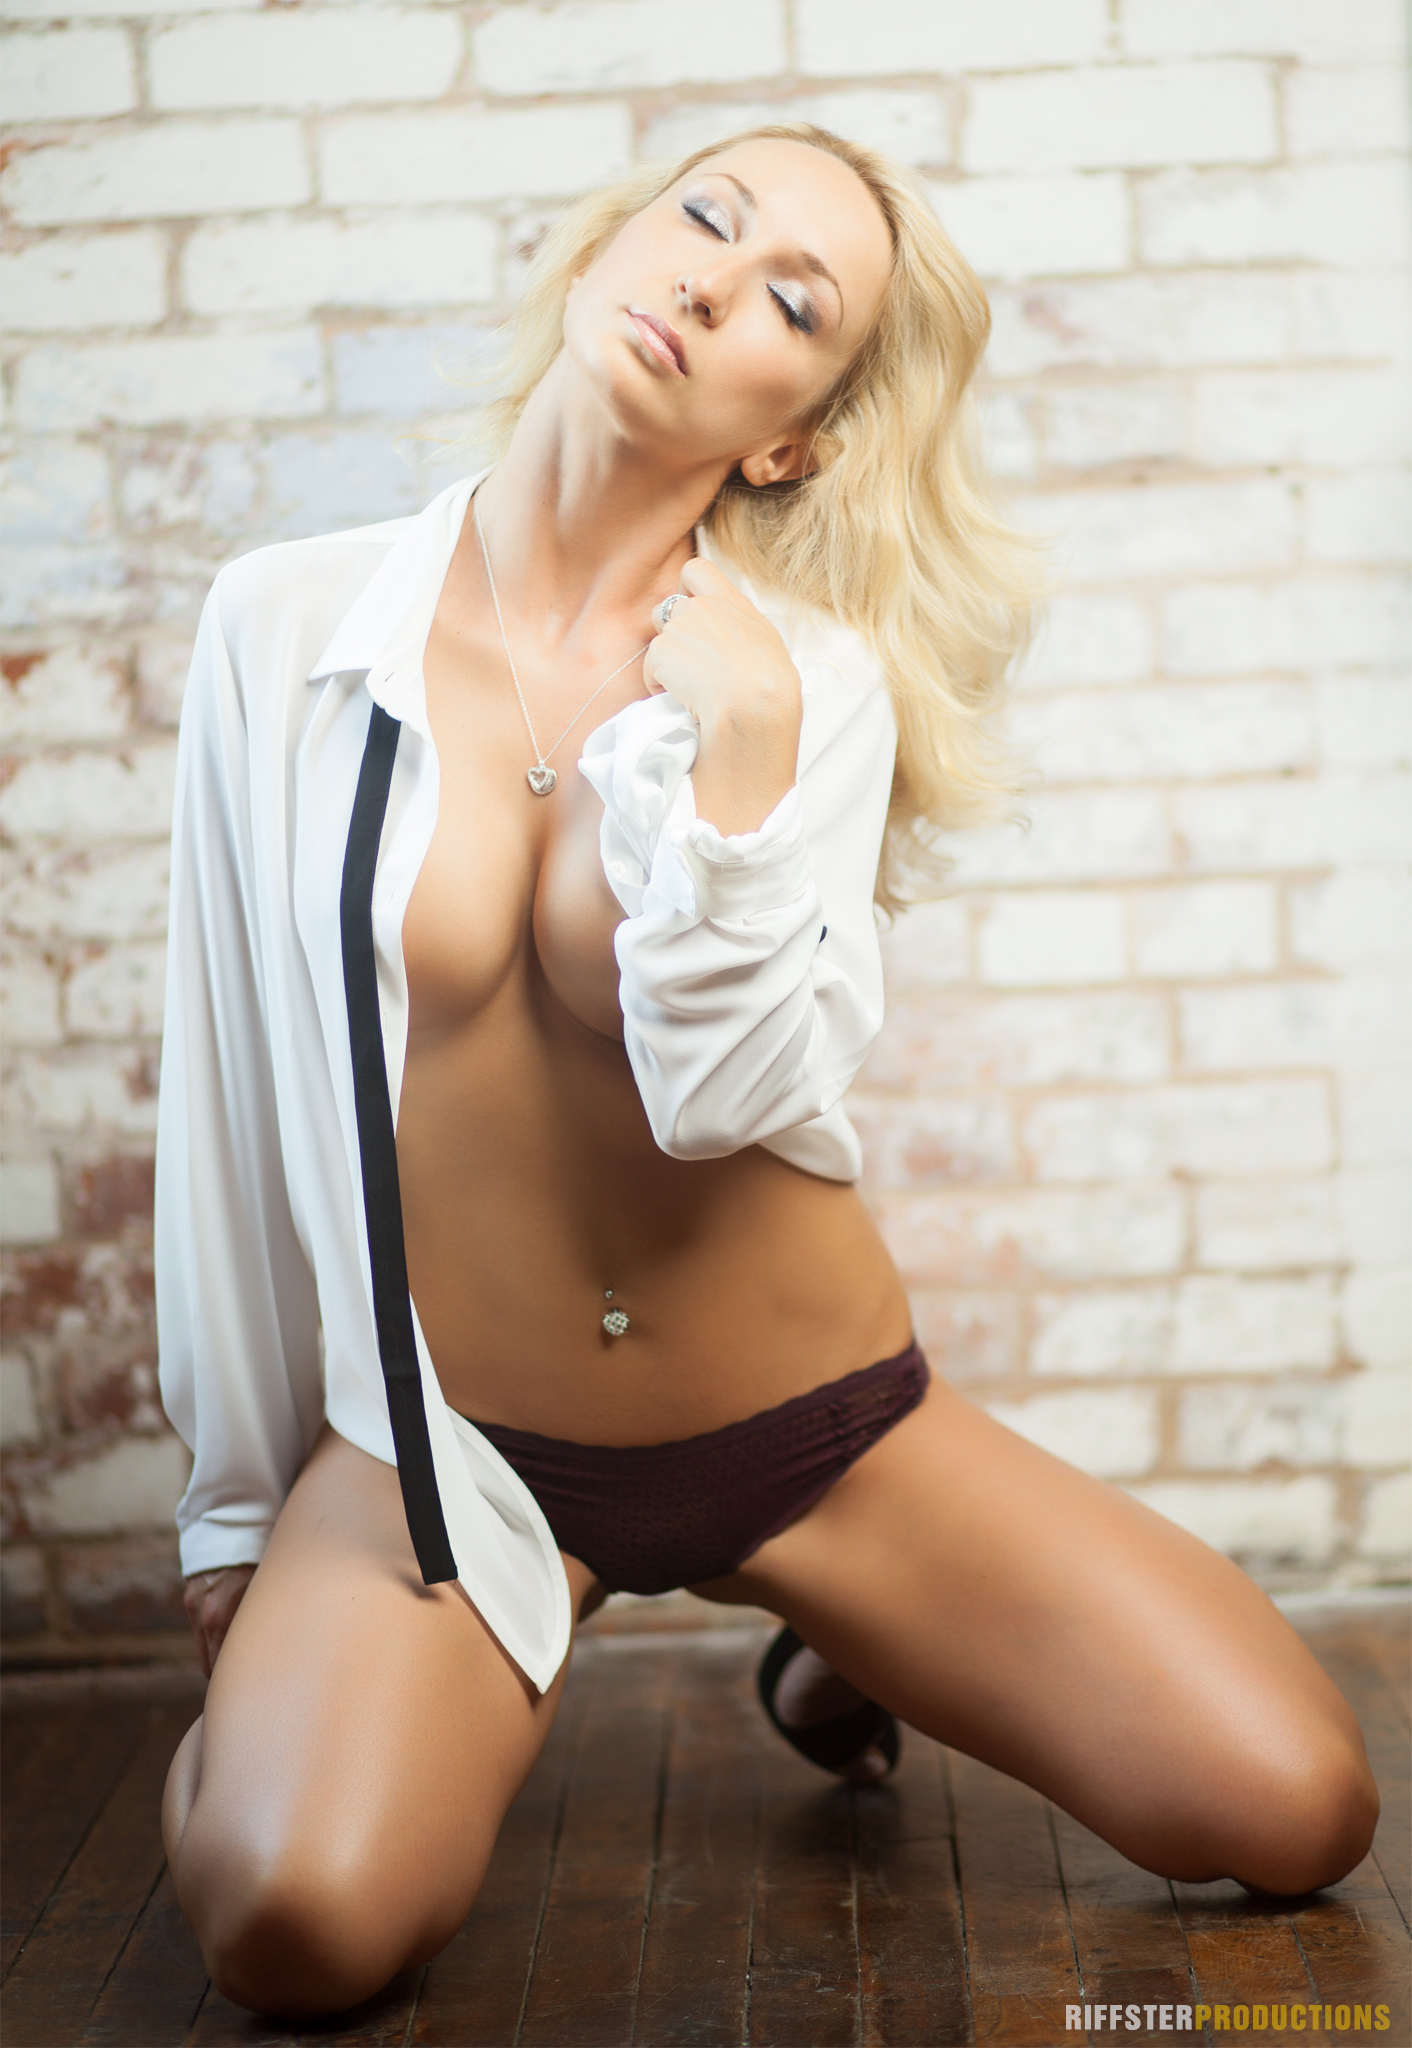
The Wall - Flash Lighting 

 
After a slight outfit change we moved right up against the brick wall, grabbed up the 47" octobox placed shoulder high and right of center with the inner & outer diffusion fabric attached and went through a series of poses. Essentially elimiating all the natural light and just using the flash gear. I believe I was at f/8, ISO 100 with the Canon 24-70L. Solid stuff and we rolled through this pretty quickly. 
 

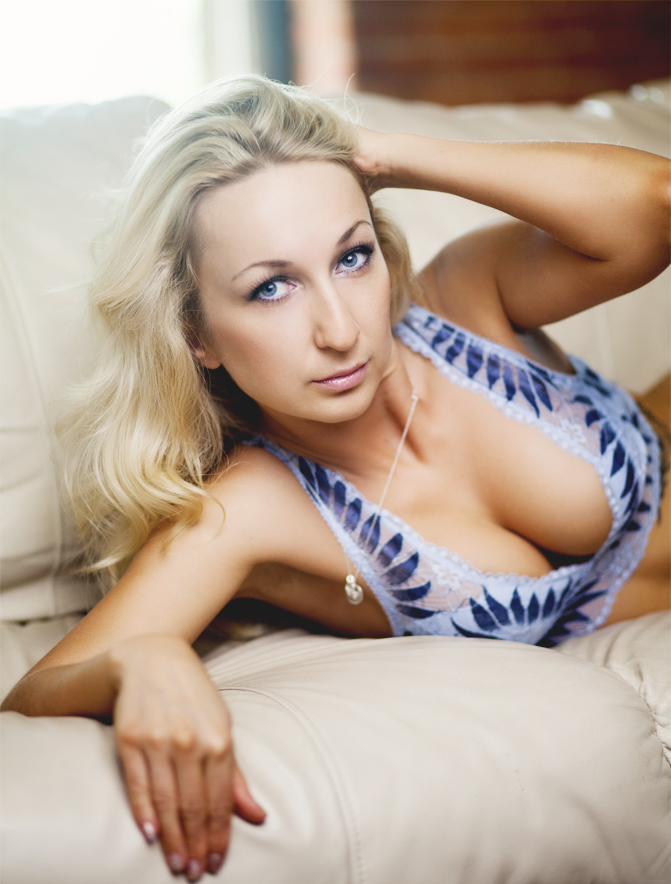
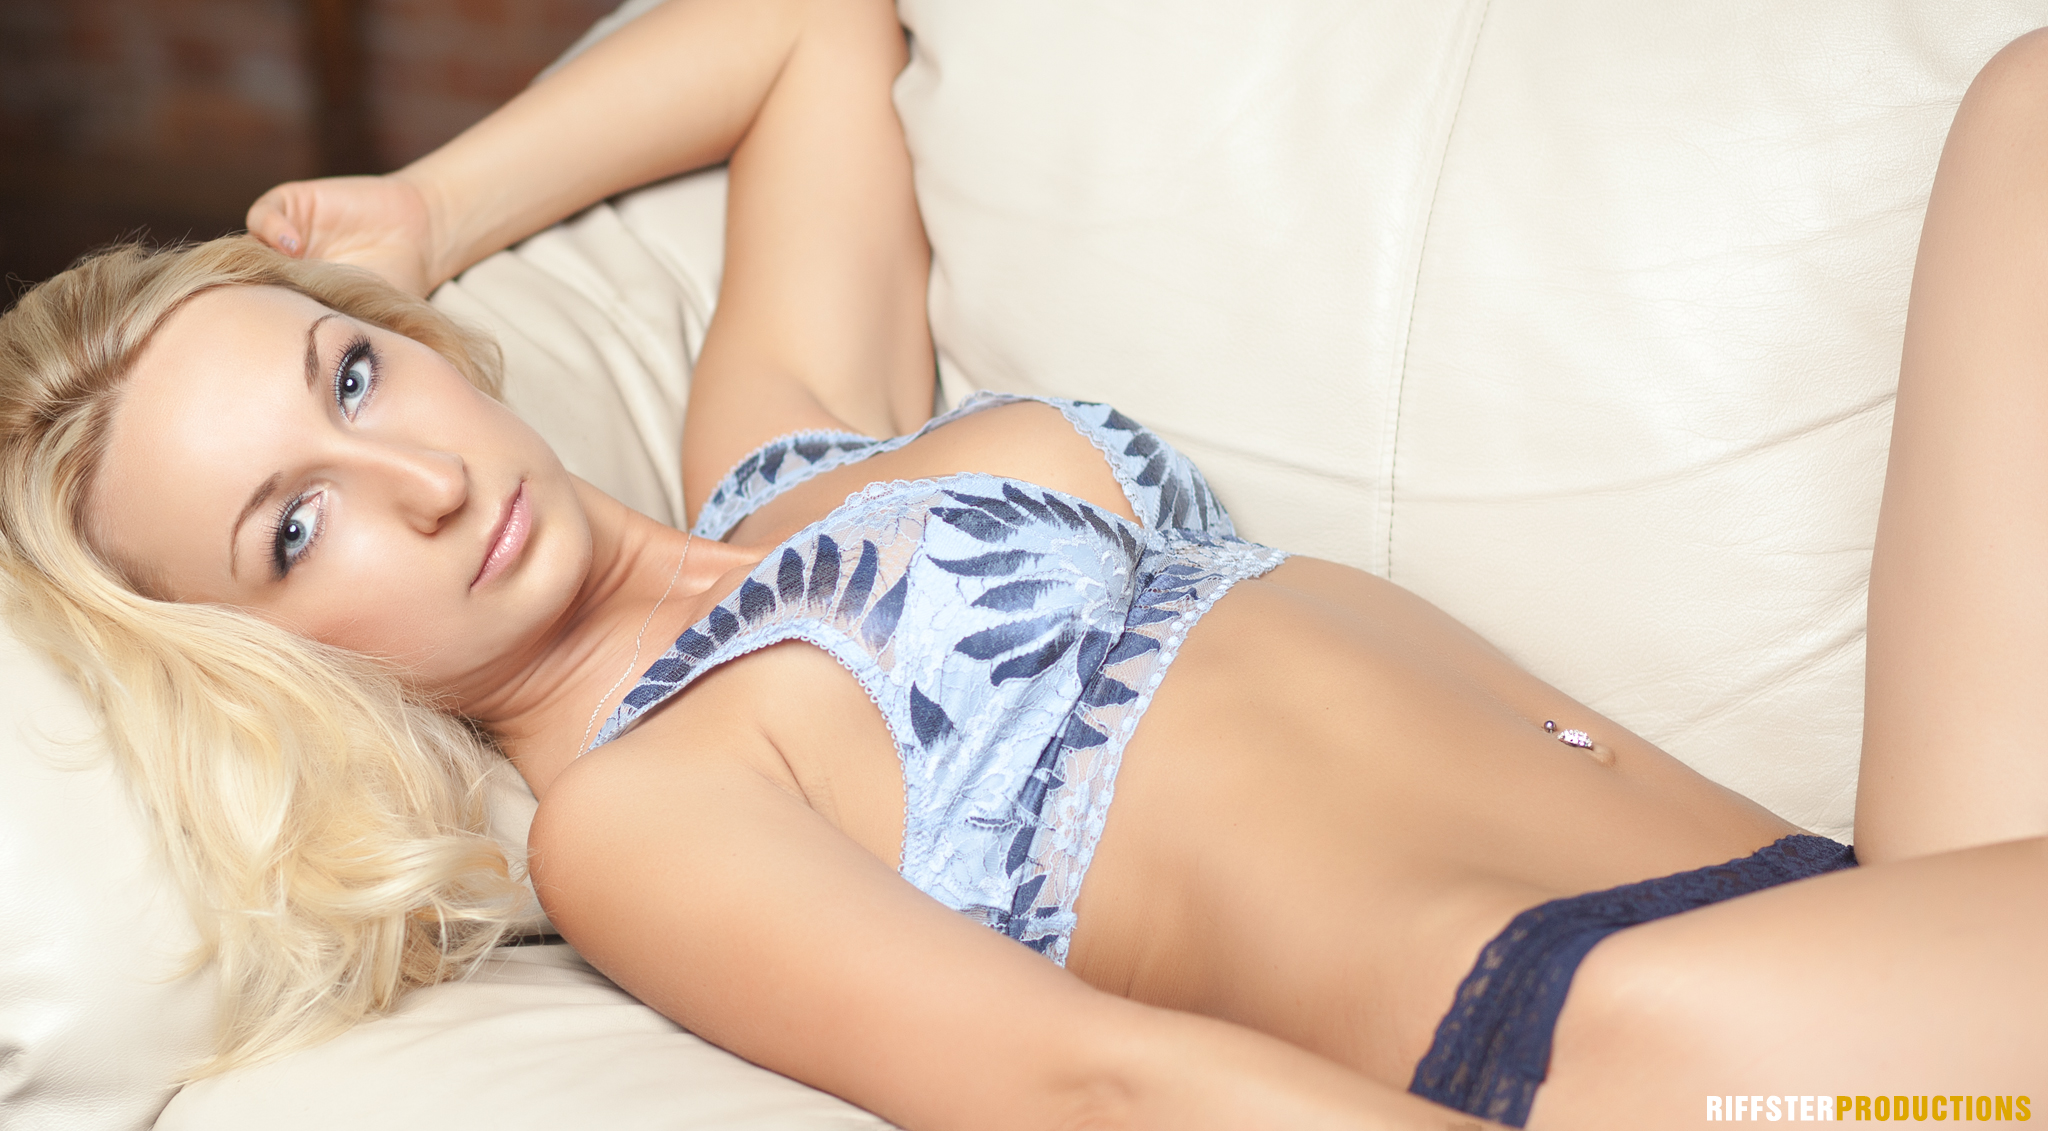
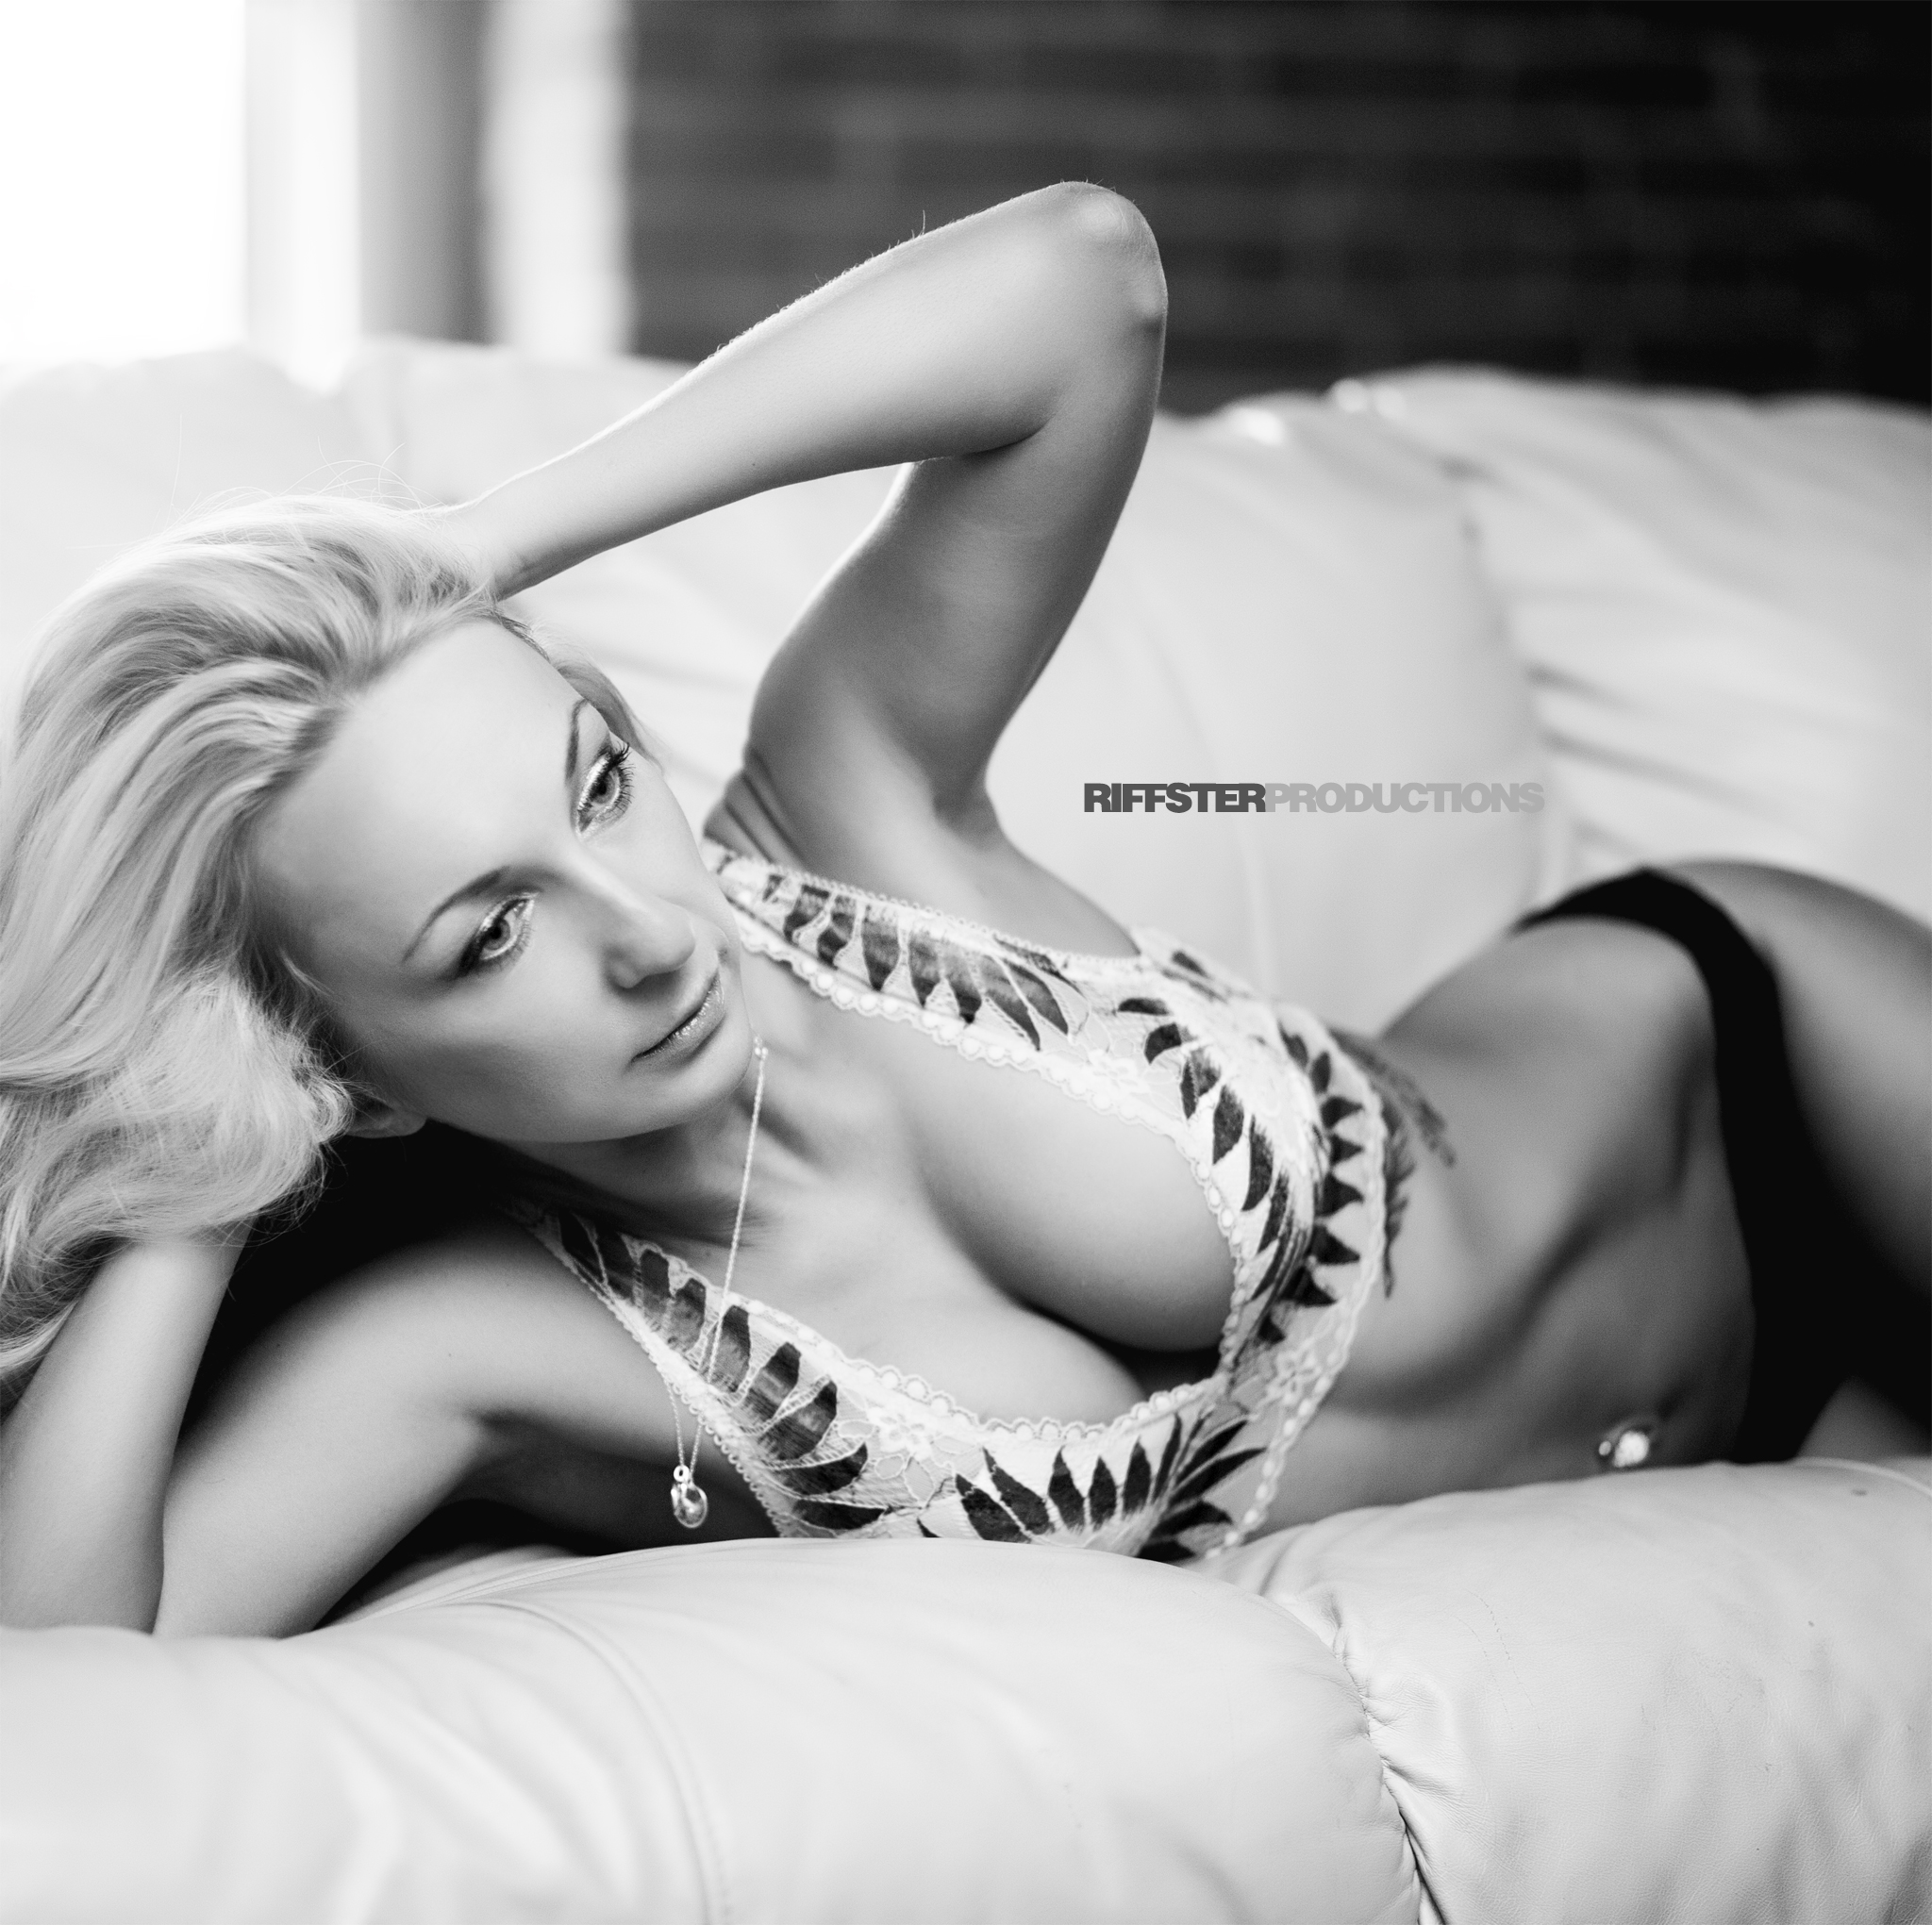
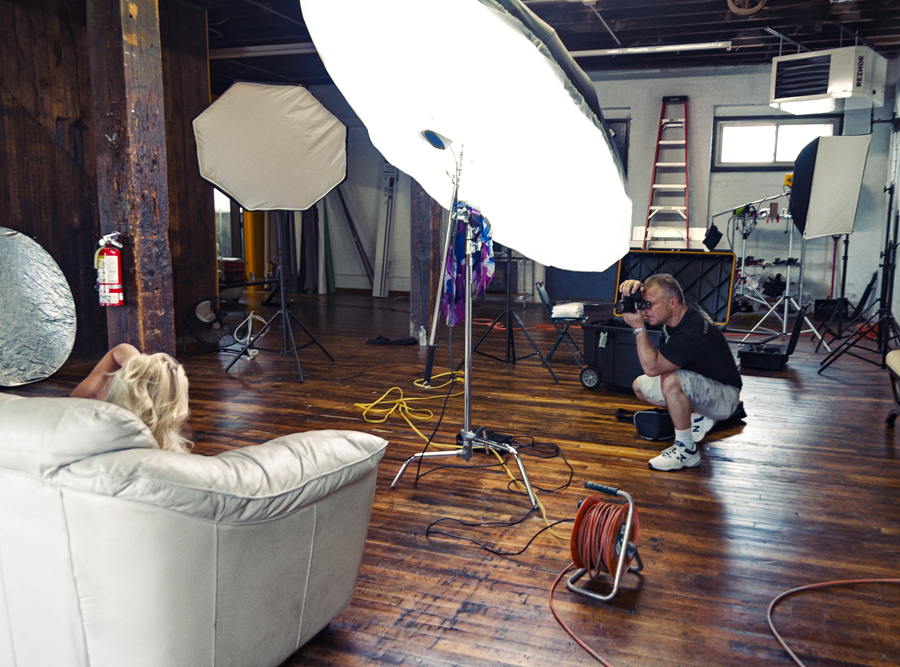
Sofa - Continuous Light

 
Next I wanted to try a scene with some continous lighting. An single sourced LED head with a bowens type connector rated at around 800 equivalent tungsten watts. Runs cool as a cucumber. We decided on a couch setting facing the windows. I used a super soft, big umbrella modifier with white fabric diffusion and placed the fixture about 8' feet away at 5' from the floor. This was my first time using a continuous light source in this type of application and was pleasantly suprised at how fast you can work when you don't have to think about strobes resetting and camera shutter speed sync. Truly a what you see is what you get type thing. Fixture heat wasn't an issue all since this was a LED head. 
 
Overall I was very pleased with the results of this shoot and became an appreciator of continuous lighting for photography. The speed that you gain from this type of lighting is really impressive and will certainly be using it in the future. 
 
Gabe